Introduction
Cintamani stones are from Sirius and are millions of years old. They act as time capsules to reactivate the Light on the surface of the planet. They will be triggered to transmit Light at the moment of the Sirius pulse, final solar flash, galactic superwave & pole shift.
a) Stabilize the planet during the pole shift
b) Bring Goddess energy to the surface of the planet.
They are the sacred stones of Buddhist and Hindu religions. Not much time is left and so we need to complete the planetary grid as much as possible.
The Galactic Cintamani stone is similar to the Cintamani stone but is more powerful. It is connected to the energy of the Galactic Central Sun and clears quantum and subquantum anomaly very effectively. It is thus very useful in transmuting great amounts of anomaly before the Event. Those who carry this stone are the main energy transmitters of its energy on the surface of the planet.
A. Theory for Cintamani grids
I would first like to bring your attention to these articles which contain most of the guidelines for gridwork:
1) Consciousness of Unity's Cintamani burying guidelines
2) Untwine's article on Cintamani Grid guidelines
4) (extra) Cobra quotes on Cintamani stones from Q&As and conferences
The key takeaways are:
a) To bury the stones at least 12 inches (30 cm) deep, directly in the soil of the Earth
b) To use 3-4 gram+ tachyonized gem grade Sirian Cintamani stones. Or 3-4 gram+ tachyonized Galactic Cintamani stones. Trusted sources for these stones are here, Pat, IGAG
c) To try to bury the stones as close to the coordinate as possible while also ensuring your own safety. For example, do not trespass on private property or government land.
d) To try to bury the stones in a Flower of Life pattern whenever possible. For this, I have created a program that can help you make a Flower of Life grid in a few seconds. You can find the program here.
e) To try to ensure that nobody sees you when you are planting the stones. This minimizes the chances of anyone removing the stone in the future or interfering while it is being planted. I understand that this is not always possible. Another aspect of this is to maintain secrecy when your mission is in progress. Do not discuss your plans with other people who are not part of the mission. Only tell them once the mission has ended. Also, do not bring people who are not part of the mission to your planting trips.
f) If you are creating a Flower of Life grid, you should ideally bury 2 stones in the center point. Note this guidance from Pat:
The center point of any Cintamani FoL grid should ideally receive 2 stones:
- 1x big stone to act as a proper and powerful anchor (5g, or preferably 7g+ gem grade recommended)
- 1x stone of equal size and quality to the other stones used for all other points of the grid
For example:
If you create a 19 point FoL grid and the 18 points surrounding the center are 3-4g gem grade then the center point should also receive a 3-4g gem, in addition to the big 5g+ (or 7g+) anchor stone.
The two center stones can be buried together OR separately. It matters not.
This ensures the sacred geometry is perfect and balanced (each energy vortex will then be almost exactly the same size, so each circle of the FoL design would be in harmony) while also generating a powerful energy vortex in the center which can radiate outwards, helping to energize and activate the rest of the grid.
We only found out about this 2 or 3 years ago. So Untwine was unaware of this method. Obviously a grid with just one center stone is still very powerful. So, it's not a huge deal if this is implemented or not. But it's certainly good to keep in mind when creating grids for key vortexes.
B. Planning your grid
It is vital for the success of your grid work to plan in great detail exactly where you wish to bury the stones (i.e. the exact coordinates of each planting). Often times you will need to rely on a combination of research, intuition, and experimentation to come up with a good grid. The following things need to be taken into account:
1) Your budget. This will put a constraint on the size and number of stones you can use for your grid. We have used websites such as Fundrazr to raise money for gridwork. You can use the same website or another website. One tip is to use PayPal to accept payments. We tried to use Stripe and it led to an attack on us including some of our bank accounts getting shut. Please budget to raise at least 1.2x - 1.5x the estimated amount of money. The Cabal does not like this work and they try their best to cause money and/or time delays.
2) How many people and how much time is available. This includes calculating the time it would take to plant many stones. Please budget 1.5x the time it would normally take you, to account for delays caused by the Cabal. It always helps to have more people working on gridwork since each person will have to do less work. However, each person should ideally work separately, even if they are working in the same area. This ensures that there's as less interference from the Lurker as possible. The tools I will be mentioning later make it easily possible for people to work independently.
3) The technical difficulties of the place you wish to plant in. For example, is it a government site? Is it in mountainous terrain? Is there very little soil there (e.g. concrete jungles like New York City). Is it unsafe to visit, especially if you're a foreigner? Is it going to be better to plant during the day or in the night? Often it is better to bury in the night when people are not around. However, it might be dangerous to bury at night in some neighborhoods. Try your best to think about every single aspect pertaining to your trip.
If you wish to quickly create a Flower of Life grid, you can use my Flower of Life grid creator. After that you can use a software like Google Earth Pro to plot the coordinates on a map. Google Earth Pro is available for Desktop and Mac and I highly recommend it. Once you are satisfied with your grid, you can use Google My Maps to upload it online. You can then invite other trusted people to view and edit your grid. Here's an example of a Flower of Life grid I made using my program (only for illustration purposes):
C. Planning your trip(s)
a. Create a Note with all your coordinates
Once you have finalized your grid's design, I highly recommend noting down each and every coordinate in your Notes app on your phone/laptop/etc. You can use the following format:
Site1: (latitude1, longitude1)
Site2: (latitude2, longitude2)
Site3: (latitude3, longitude3)
Site4: (latitude4, longitude4)
Etc.
After doing this, you can put your coordinates into this tool which can calculate the shortest driving distance between all your coordinates. Once you know the shortest path between all your coordinates, punch your coordinates into Google Maps and create a multi-leg journey for your entire trip. At this point you will find out exactly how much time it will take you to drive to all your coordinates, as well as the total number of miles/kms. It will look like the below screenshot. You can click on "Copy link" and note down the link in your Notes app.
After you have done all these steps, you can create a Note such as below. If you are using Google My Maps, you can click on the three dots next to a layer and export as csv. That will help you make a table.
You want the note to contain the following elements:
- Total driving time
- The order in which you will cover the coordinates. Make sure you label/number the coordinates appropriately
- Total number of stones to be buried, along with the type of stone (OC = Ordinary Cintamani, GC = Galactic Cintamani, etc.)
- Total time it will take to bury all the stones. This can be calculated by adding up the total driving time + 30 mins for each planting
- Total driving distance
- Include a screenshot of a map showing each coordinate with its label as well as the full driving path. An example is shown above
Some planting trips may involve multiple days. In such cases, you want to plan out each day's itinerary in your Note. You also want to research about where you will stay after the end of each day. And also plan for worst case scenarios- have backup places to stay at. I recommend using Airbnb to find places to stay. However, in some cases it is better to get a cheap hotel. You can use a website like Expedia to find them. The more thought you put into your planning stage, the more money, time and effort you can save.
D. Food, water, and other necessities
You will likely be out for a decent number of hours, sometimes the whole day. We are all adults but sometimes we fail to consider just how much energy it can take to drive, plant, etc. I like to stop at a grocery store and load up on food supplies before heading out to plant. Always carry extra food and water on you. Some of my favorite snacks are:
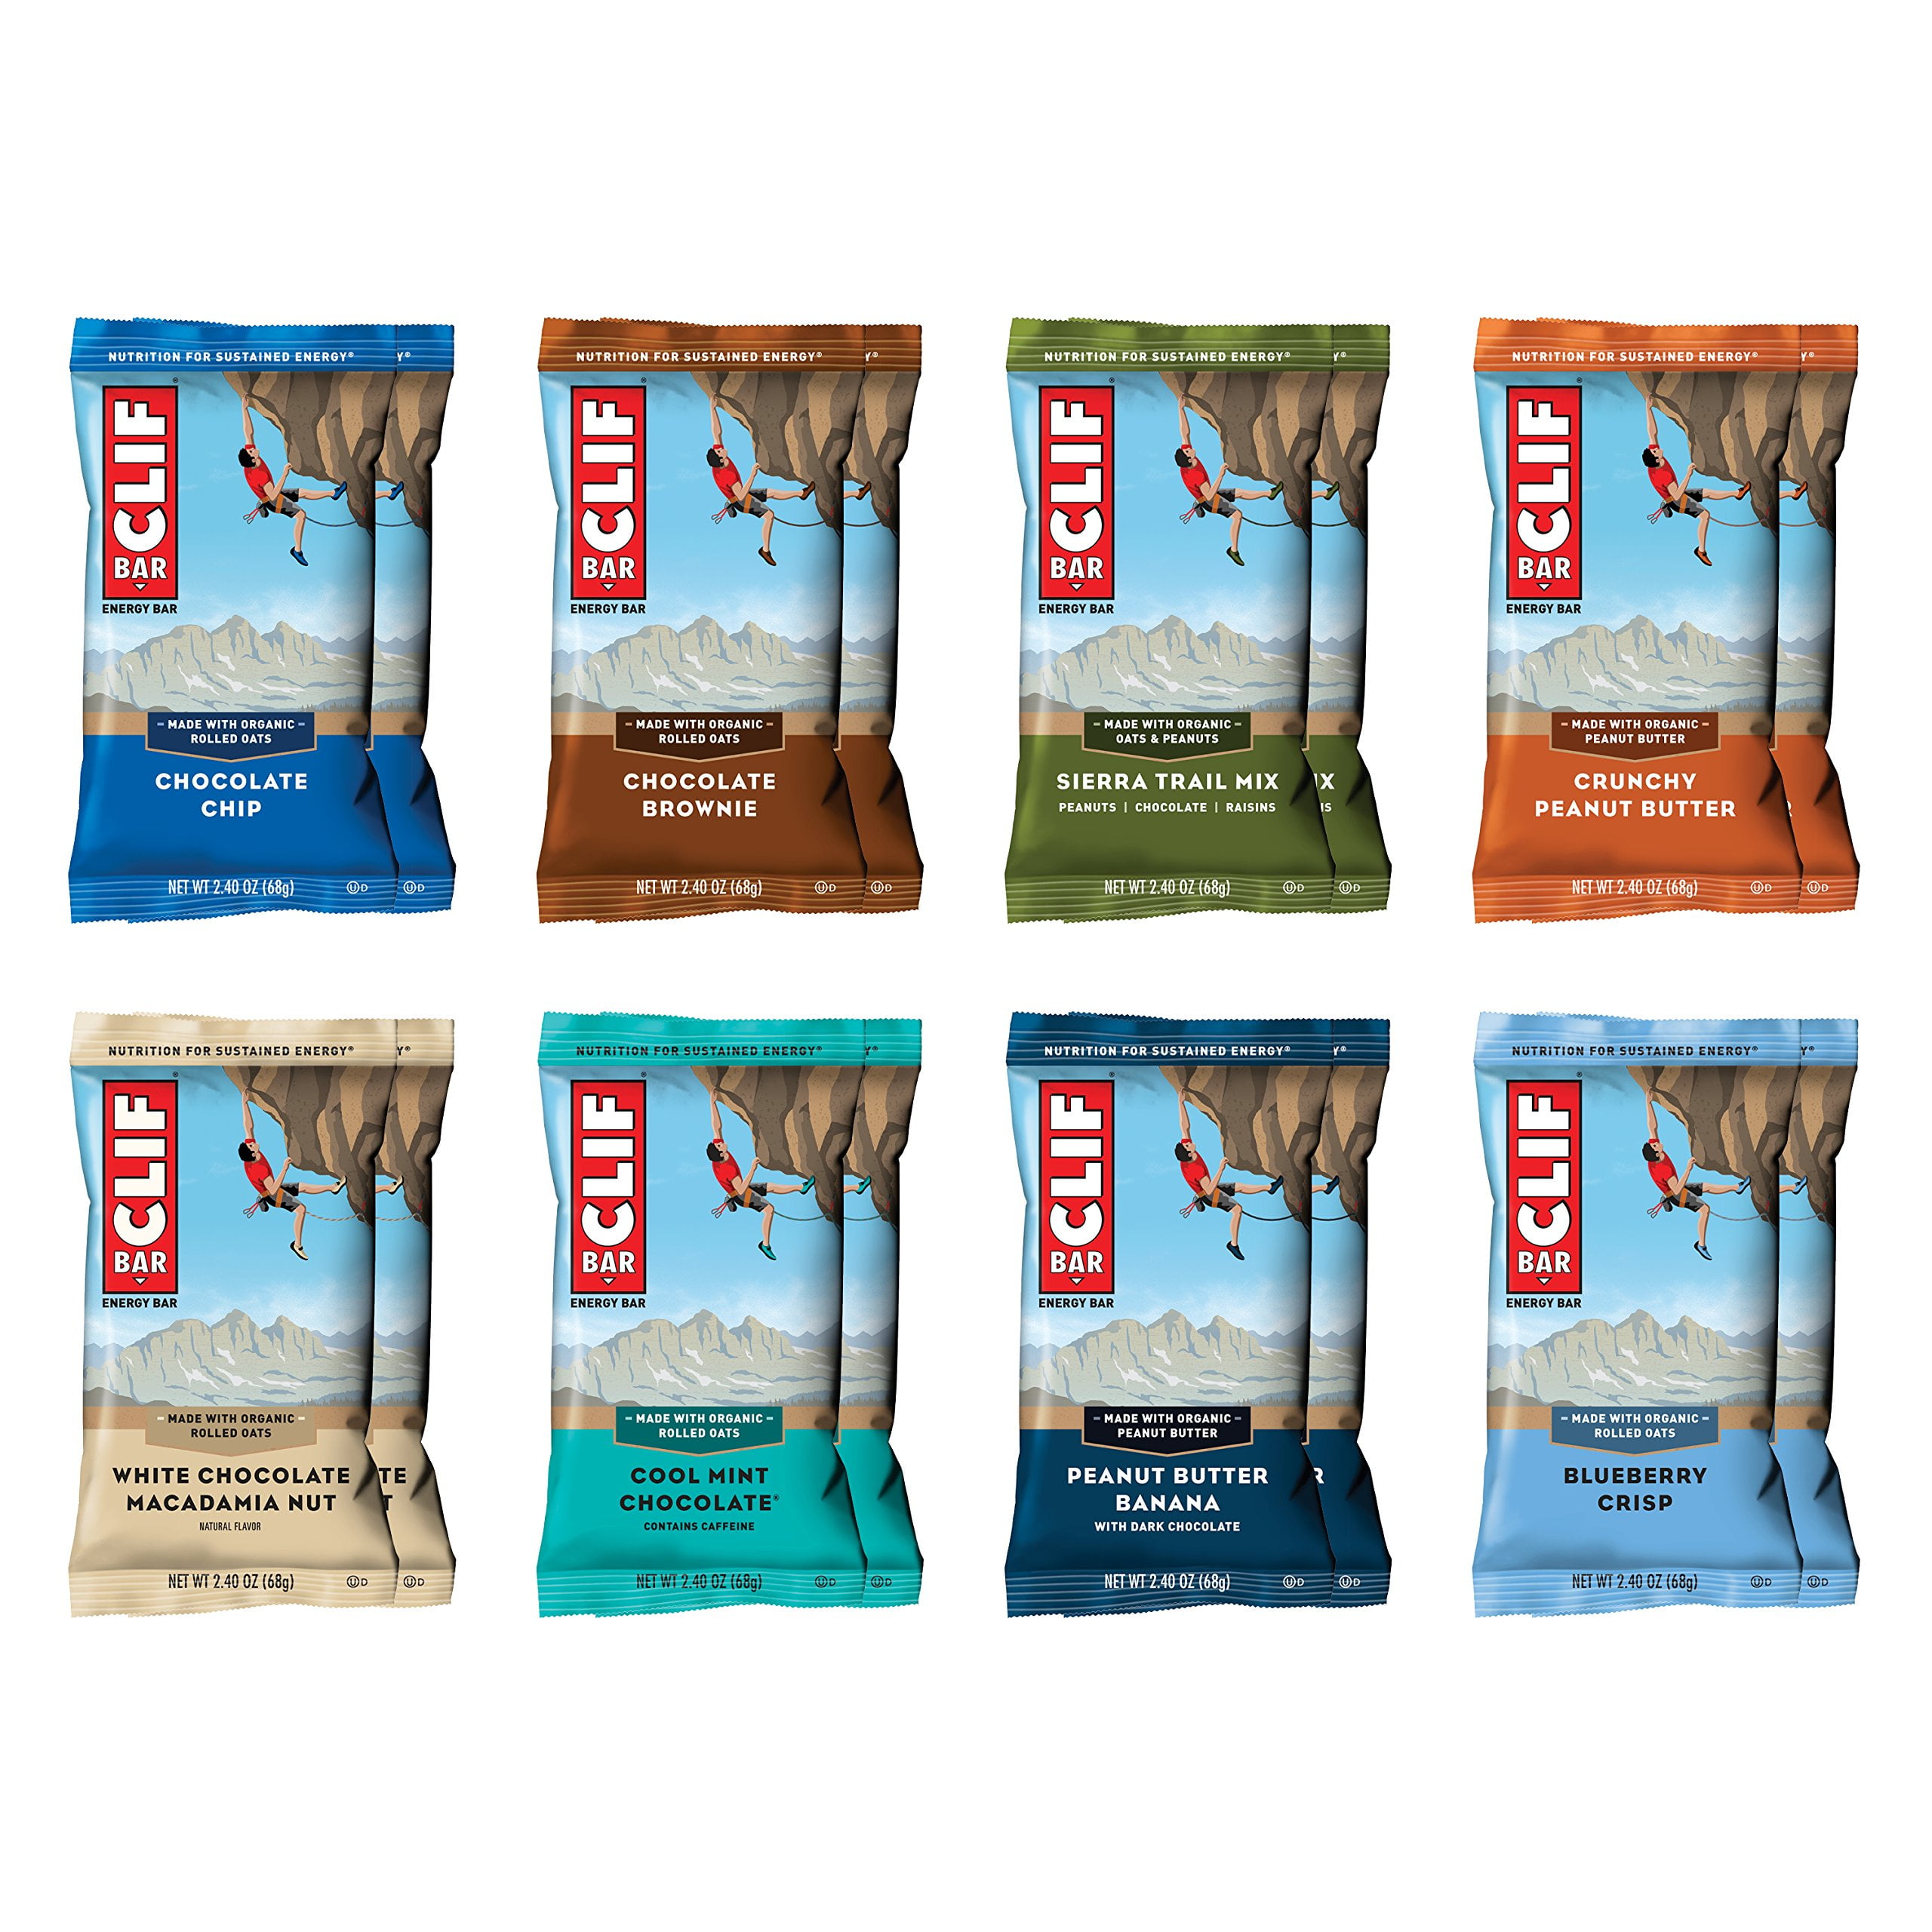
- CLIF bars
- Bananas (careful though, they tend to stink up the car if the weather is hot)
- Distilled water (huge bottle- you will get thirsty)
- Burritos are really easy to eat while driving. Another easy to eat item is burgers.
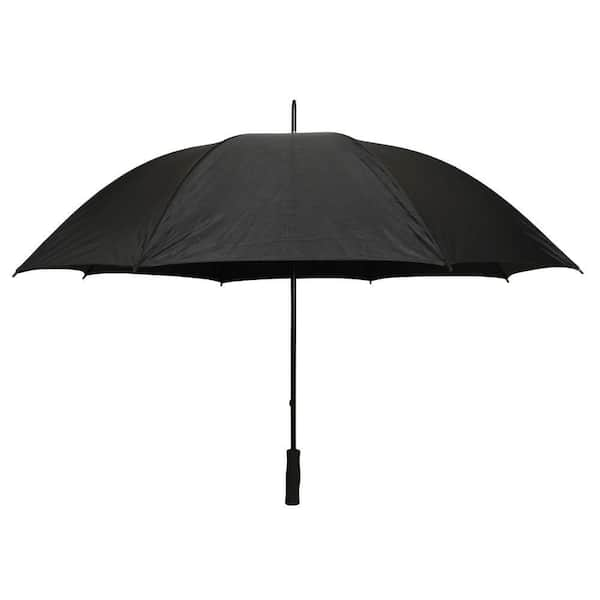
- Umbrella
I highly recommend checking the weather before going on your trip:
Only once you have created such a Note and followed everything in steps A - D, you can proceed to the next step.
E. Burying the stones
a. Protection protocols
You should start with a protection protocol. I personally use the Bubble of Light protocol that was given us in the Phoenix conference:
Visualize a bubble of blue light surrounding you as a protective field. You can use this for getting basic protection anywhere. We were given examples of using this while going in and out of a room, in and out of a car, etc. You have to say the following three times out loud: “May a bubble of light surround me. May its light shield and protect me from all negative energies. And so it is”.
After saying the Bubble of Light protocol out loud 3 times, I say "Command 12 21" out loud 3 times as well. I repeat the above two protocols as often as needed during the trip.
b. Transportation
To get to the coordinates you can use a personal vehicle, public transit, or a rental car. I personally rent a car using the Turo app most of the time. I recommend getting the highest level of insurance possible if you are renting a car (or if you own a car). Also get traveler's insurance, renter's insurance, homeowner's insurance, etc. to cover for any goods which are stolen. While doing this activity we can easily have our belongings stolen, so we need to plan for the worst case (speaking from experience). Regardless of the method of transport you use, you will have to make sure that your tools are not very visible. The hammer drill I mentioned below comes with a carrying bag. Most tools fit in the carrying bag, except the 18" drill bit. For carrying the drill bit I use a backpack. I also keep my wallet, phone, car key, etc. in the backpack. I take my backpack with me everywhere. What happened once was that I left my backpack in the car and that resulted in it getting stolen. So please be extra careful especially since the Cabal likes attacking us when we do grid work. If you are leaving valuables in the car then keep them in the car's trunk and lock your car.
You will already have the Note ready with all your coordinates in the correct order. You can just punch each coordinate into Google Maps on your phone and then drive to them.
c. Recommended tools for planting
We finally come to the part where we will actually bury the stones. After a lot of trial and error, I've come to the conclusion that a hammer drill is indispensable to my planting work. It saves so much time and energy and always ensures a successful plant. In my opinion, nobody burying a large number of stones should be burying them manually (if possible). Hammer drills can be found for cheap, and they completely eliminate the scope for error that gets introduced when manually digging. Even though a drill can look suspicious, there are ways to cover it until you need to use it. In my experience it is usually much more discreet to finish a planting within 2 minutes rather than manually digging for 10-20+ minutes. Also, they do not make as much noise as people think they do. There are also ways to use the hammer drill on low speed settings to minimize the amount of noise they make.
I can vouch for this drill cutting down the total time it takes to plant a stone to merely 1 or 2 minutes -
DEWALT 1/2-in 20-volt Max Variable Speed Brushless Cordless Hammer Drill (1-Battery Included)
Model number: DCD998W1
For India I found this one-
Cheaper option- IBELL One Power Series Cordless Rotary Hammer Drill CH20-10 20V 900RPM, 0.375 inches with 2Ah Battery & Charger 900 Watts - Red.
Any decently powerful hammer drill should ideally do the job. I usually use my hammer drill on gear 3, with the clutch set to the maximum setting (i.e. at 11). It can sometimes help to use it at higher settings if the soil isn't cooperative. The hammer drill makes it possible to bury in pretty much any soil condition. I cannot say the same about manual tools.
You want to use an 18 inch length x 1 inch diameter ship auger drill bit fitted to it. The model name I use is called "IRWIN SPEEDBOR SUPREME 1-in x 18-in Woodboring Auger Drill Bit".
For India, I found this one - SOMADA 7/8-Inch x 12-Inch Auger Drill Bit for Wood, Hex Shank 3/8-Inch, Ship Auger Long Drill Bit for Soft and Hard Wood, Plastic, Drywall and Composite Materials. A cheaper option is this one, but some reviewers said it didn't fit their 3/8" drill: Masendelk Ship Auger Drill Bit 7/8 x 12 Inch, Wood Auger Bit with 3/8 Inch Hex Shank.
I highly recommend using a 18 inch length by 1 inch diameter ship auger drill bit. The reason for this is that some stones are big and they will get stuck to the side of the hole. You want to make sure that your hole is wide enough all the way till at least 12 inches. You might want to use an even thicker ship auger drill bit if you're burying a stone larger than 7-12 grams. The above thickness (18" x 1") is good for stones of up to 7-12 grams, in my experience.
In many cases there will be hard stone or concrete once you get past a depth of say 7-8 inches. The drill will simply stop working. You might want to poke with the long metal chopsticks (mentioned later) to check whether it's really concrete below or whether the soil is just hard. If you feel like you are not hitting a hard rock or concrete, you can use some tap water to loosen up the soil. Wait for a few seconds and then try drilling again. If you are still not able to push further, it's probably hard rock or concrete below. Just move to a different spot. Sometimes even moving just a little bit can get you a spot where the soil is much more favorable.
Once you are satisfied with the hole's depth and thickness, you can drop the stone into the hole. While dropping the stone you should ensure that you can see the stone going into the hole. Then you can use a long (15" +) metal chopstick to feel whether the stone has successfully reached down 12" or more. An added benefit of a chopstick is that you can actually attach it to the hammer drill and push the stone further into the hole.
d. Manual tools (only suggested if you are doing a few plantings or if you need to be extremely discreet)
The cost for all the manual tools also comes to be around the cost of a cheap hammer drill. I only recommend using them if you already have them lying around or if costs are extremely tight. Manually burying stones takes a lot of energy as well as time (can take up more than 30 mins if the soil is not cooperating). However, if for some reason you still wish to bury manually, then the tools I suggest using are:
- 24” or 36” wrecking bar. You want to ensure that you are able to completely rotate the wrecking bar until at least 12" depth. That is, you want to use the rubber hammer (mentioned below) to not only push the wrecking bar to 12"+ depth, but also to ensure that the hole is uniformly thick until at least 12".
- Rubber hammer (to push the wrecking bar deeper into the soil and to rotate the wrecking bar). Note that you should use a rubber hammer and not a steel hammer, as this will reduce the amount of noise.
- Water (sometimes needed to loosen up the soil)
- 18” drill bit or 15"+ long chopstick. Basically a long rod that you can use to feel the stone once you've dropped it in. Sometimes you can even hammer this rod if you feel like the stone is not deep enough. Hopefully your holes will be thick enough so that this is only a worst-case scenario.
- Gardening trowel
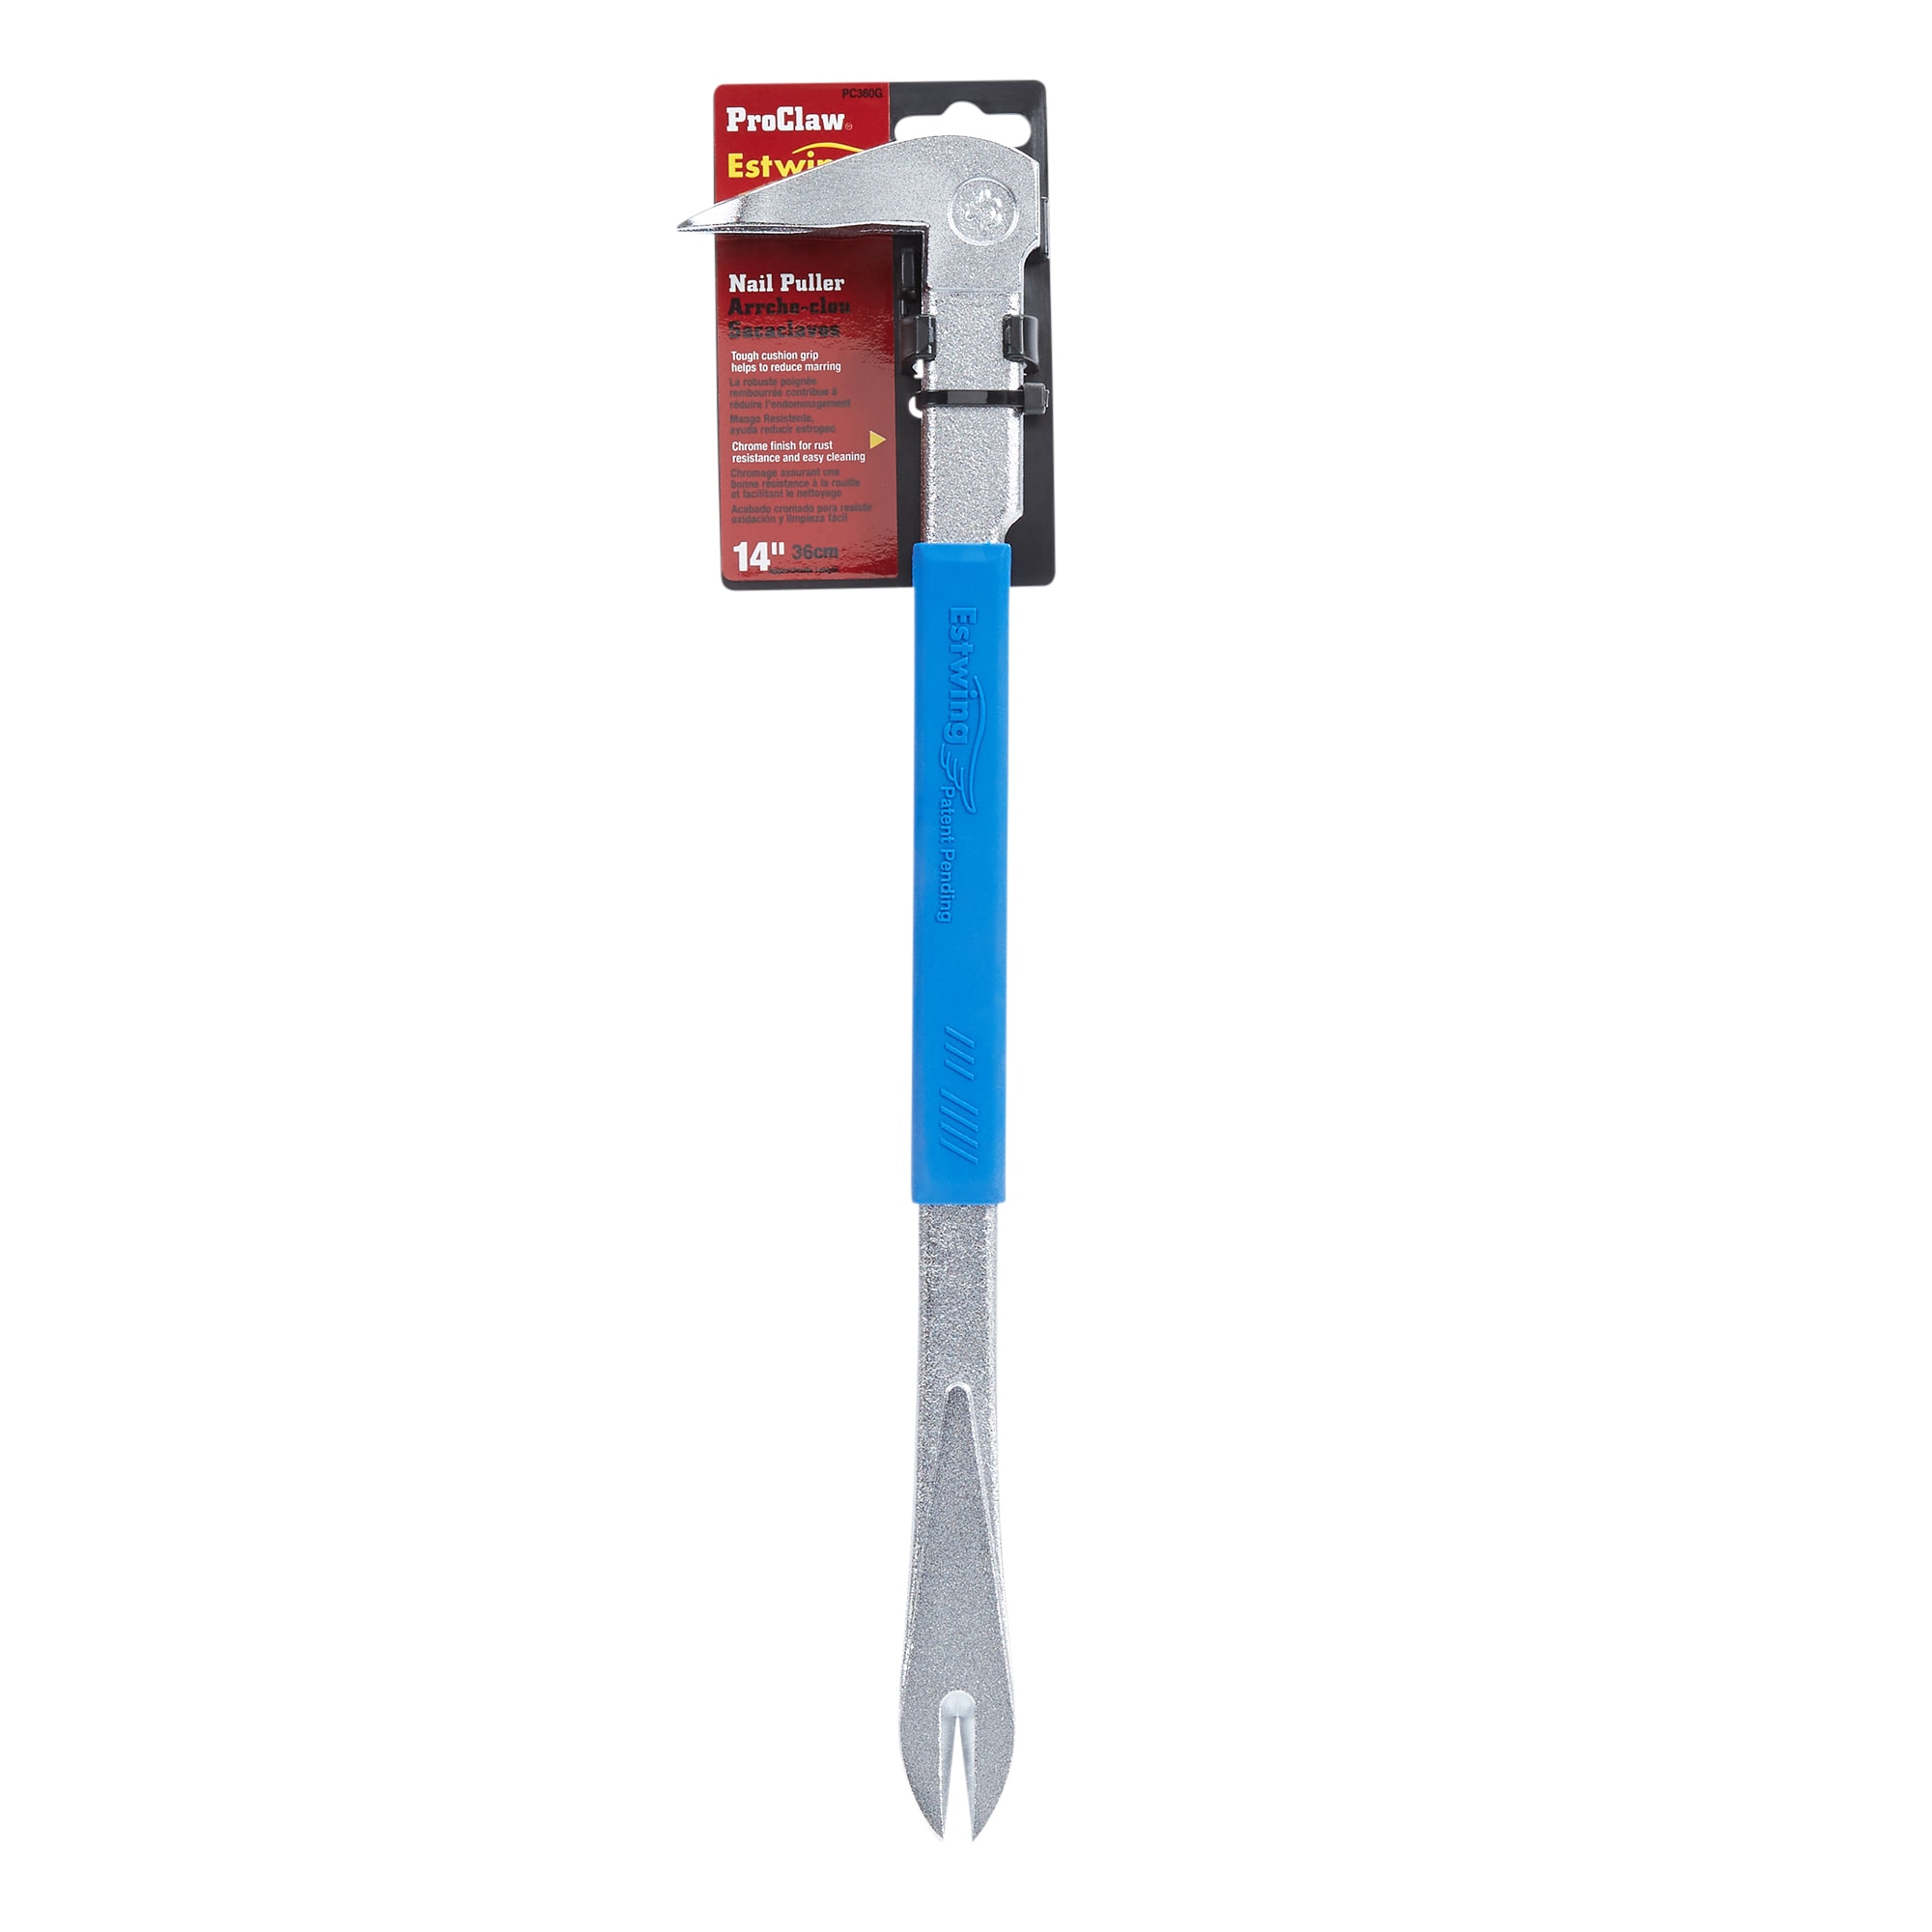
- 14" or 18" inch nail claw puller can also be useful in urban environments where you want to bury discreetly. 15"+ chopsticks can also be used in extremely discreet cases. The only drawback of these tools is that they do not always guarantee a uniform thickness of the hole till 12". You might want to use a lot of water to loosen up the soil if you are using these tools. And also check thoroughly whether the stone has successfully reached 12" depth.
e. Noting down coordinates
Once you have finished planting, you need to take down its coordinates. To do this you can use the Google Maps app on your phone. It will zoom into your location when you open the app. I recommend changing the view to Satellite View in order to confirm the correctness of the coordinates. Press and hold the blue dot showing your location, and then save the coordinates that appear. Save these coordinates to Google Maps in a folder called "Cintamani". Saving them on your end ensures that they can be found in the future in case something goes wrong (e.g. - if the person forgot to add coordinates to the shared map). Also share these coordinates at the earliest with Pat/me/the person assigned to add coordinates to the map. Do not share the exact coordinates with people who are not part of your planting mission. Do not send the coordinates to the group chat. Send them via a private message/email to whoever is in charge of adding the coordinates to the map.
F. Concluding thoughts
We are at the cusp of the most important event this year: the US Presidential elections. As was said in a previous Q&A, the US elections have the potential to trigger the Event:
"Elsewhere in the world you can see many changes. But the United States will be the last country on the planet where those changes will happen, and when they happen in the United States it will be the moment of the breakthrough. Because it is the turning point. The United States is the key trigger point for the Event to happen. When you see changes in the political system of the United States, then you know it is time."
In the Phoenix conference we were told that the possible timelines for the election are:
a) Trump will win
b) Or, there will not be any election at all
In a Jan 2024 situation update it was noted that it is very important for the Lightworkers to anchor the Light as much as possible during this year in the USA.
The reason I bring this up is because we need as many Lightworkers to assist in Cintamani burying projects (especially in the US).
We are seeking dedicated Lightworkers to work on the following projects:
1) Dragon Leyline Project in the US and parts of South America. More details can be found on We Love Mass Meditation's website.
2) Asian Cintamani burying project. This project encompasses 34 countries which do not have Cintamani's buried there yet. More details can found at this link. You can email boostingthenewatlantisproject@gmail.com if you wish to work on this project.
3) San Francisco Bay Area grid (personal project of mine)
4) Chicago grid (personal project of mine)
5) New York City grid (personal project of mine)
If you are interested in working on any of the above projects (or want to suggest your own), I highly recommend getting in touch with me or Pat. To get in touch with me you can leave a comment below or message me on Signal (I'm @votl628.21 on Signal). Alternatively, you can get in touch with Pat by sending him an email at joyandlove1@outlook.com.
VOTL! The Compression Breakthrough gets nearer and nearer with each passing hour!









No comments:
Post a Comment